Welcome to the SalesMax Plugin Installation Guide.
SalesMax is your all-in-one WooCommerce plugin for increasing revenue through smart boosters, automated promotions, and insightful sales analytics. Follow the steps below to get started in just a few minutes.
Before You Begin #
Make sure you have:
- Admin access to your WordPress dashboard
- The latest version of the SalesMax plugin (.zip format)
Step 1: Go to Plugins Page #
Navigate to Plugins > Installed Plugins in your WordPress dashboard.

Step 2: Add New Plugin #
Click the “Add New Plugin” button at the top.
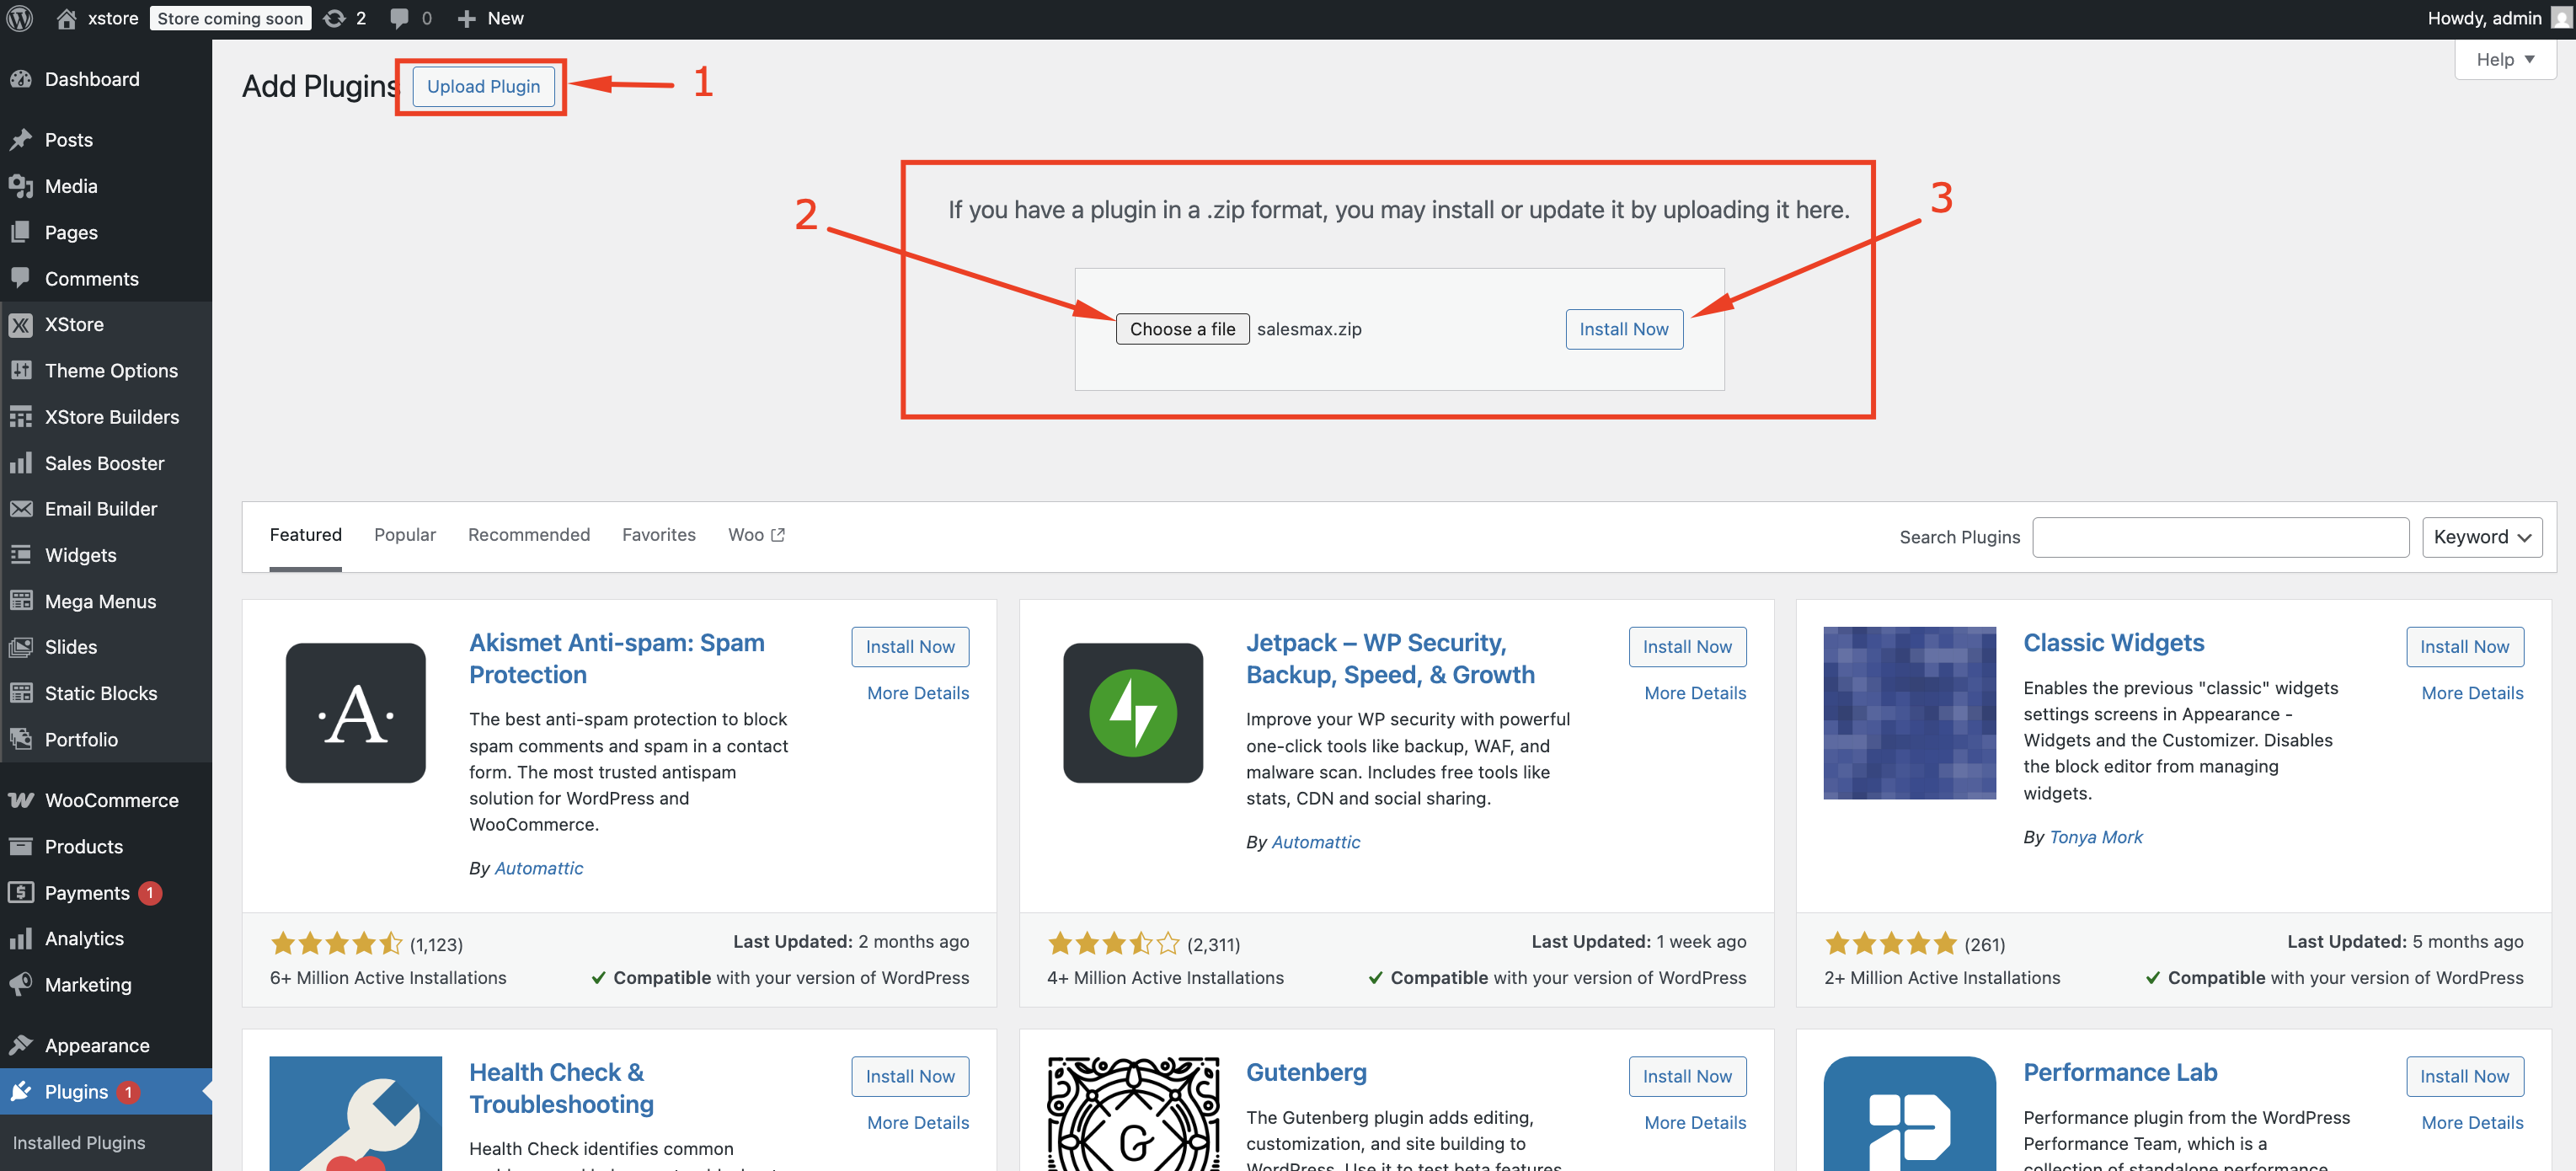
Step 3: Upload the Plugin #
Click “Upload Plugin”, choose the salesmax.zip file, and click “Install Now”.
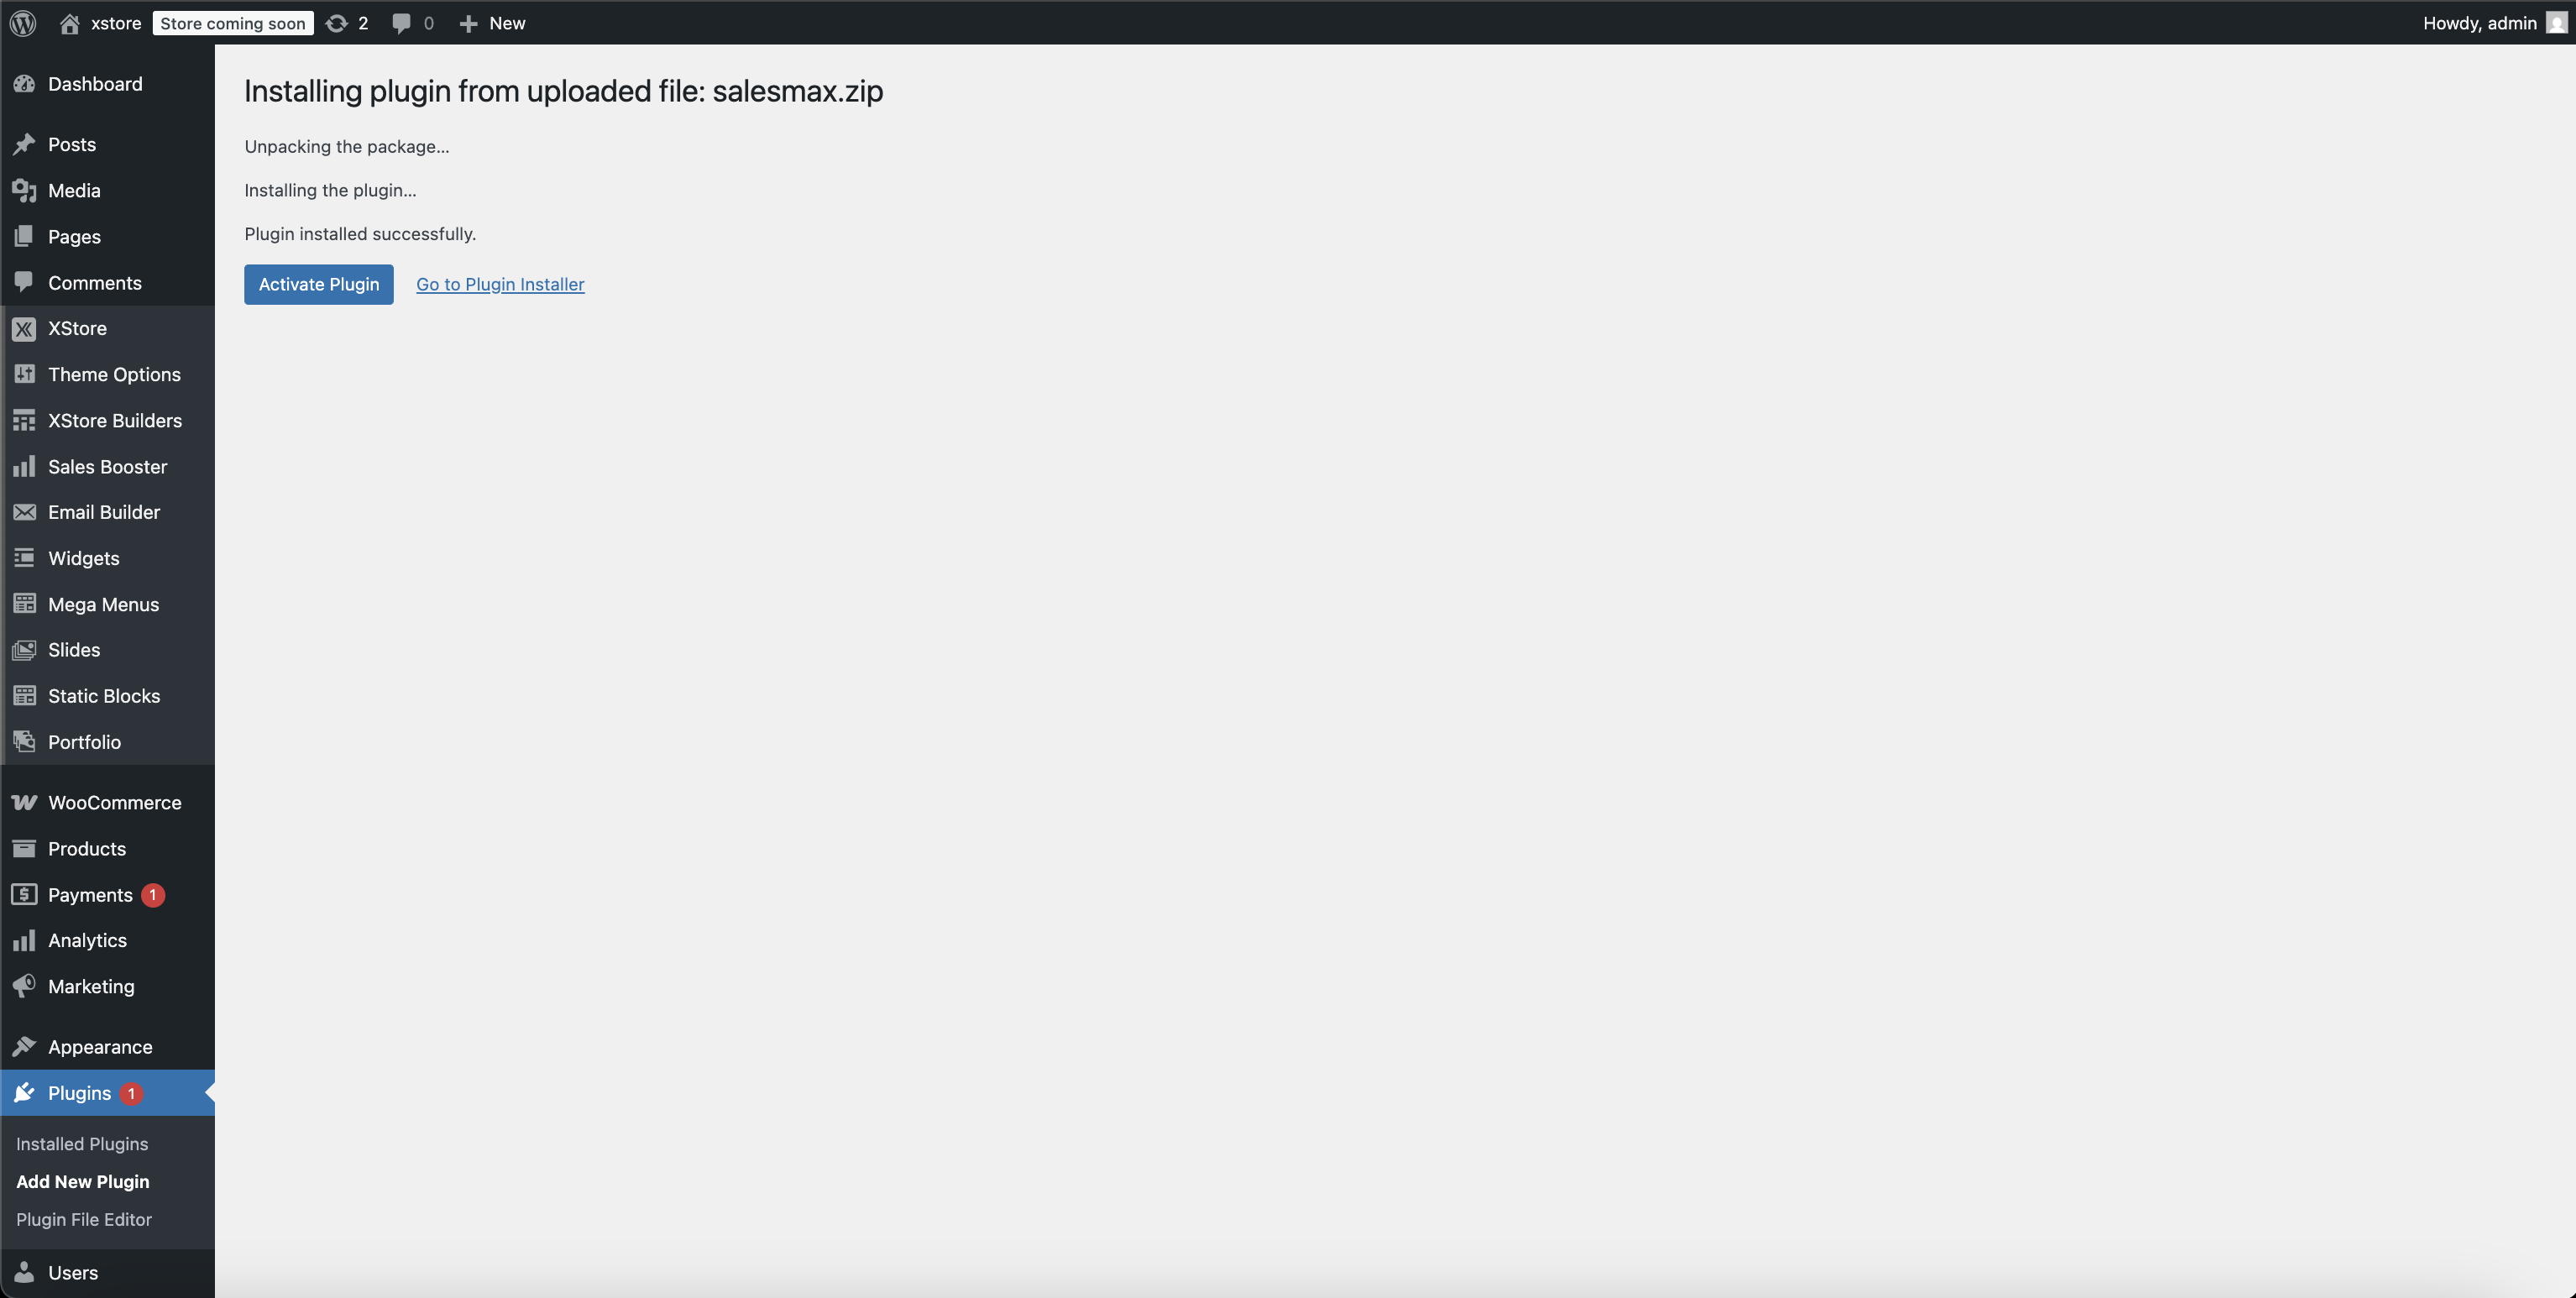
Step 4: Activate SalesMax #
Once the plugin installs, click “Activate Plugin”.
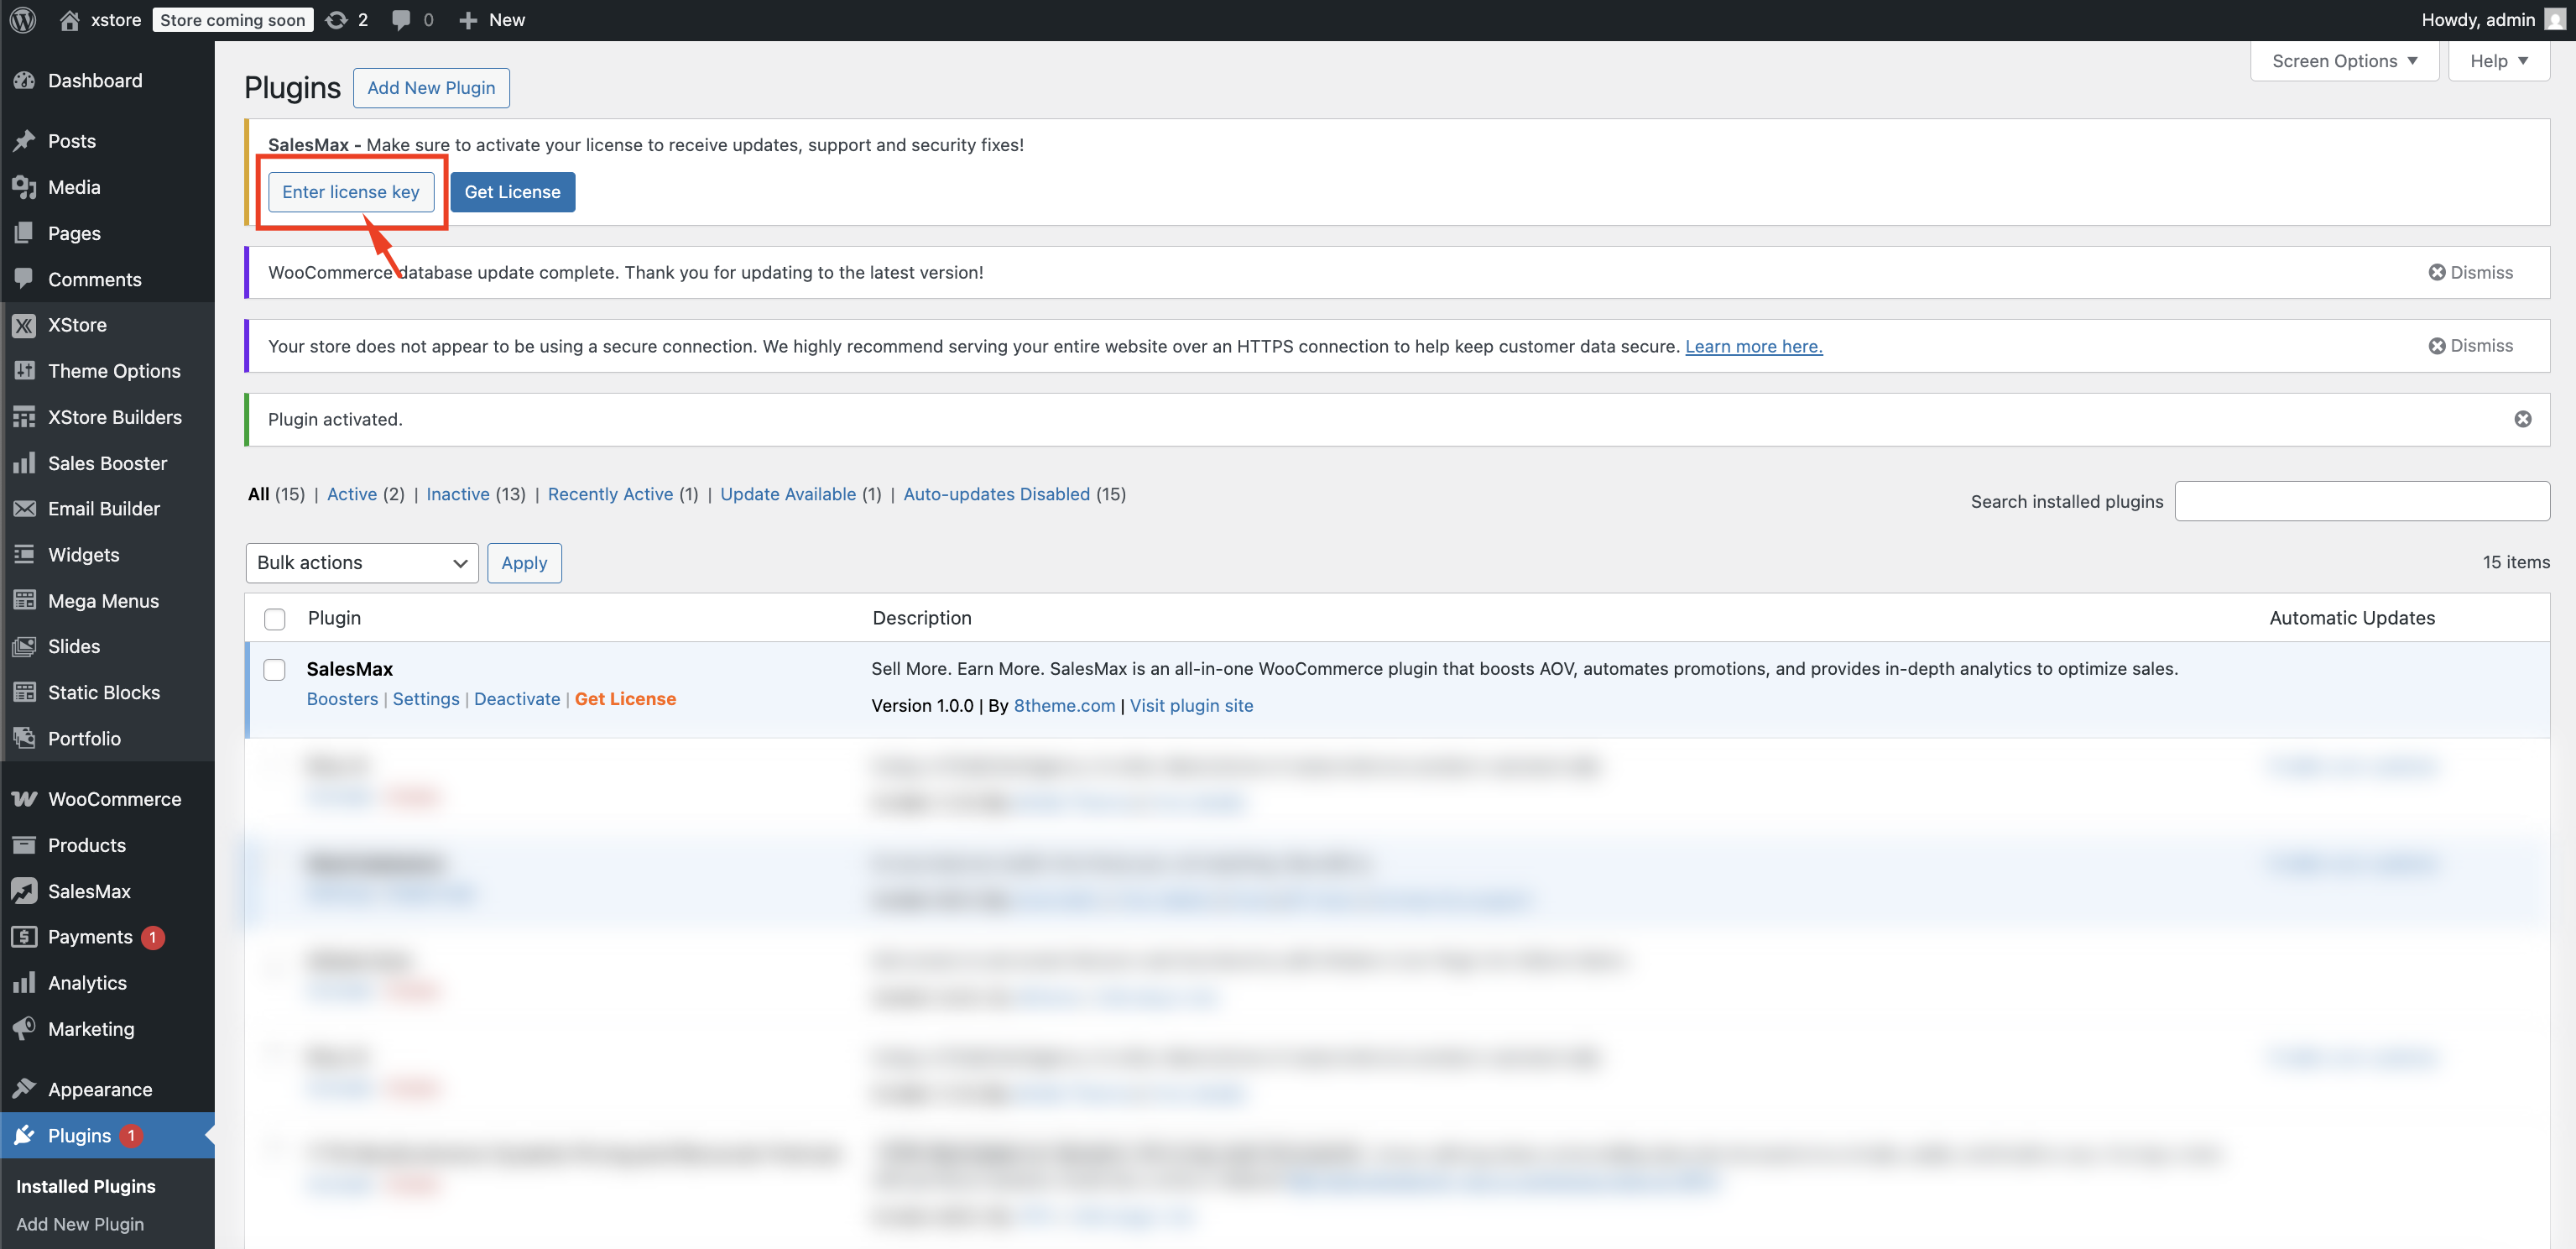
Step 5: Enter Your License Key #
Click “Enter License Key” and submit your code to enable updates and full functionality.
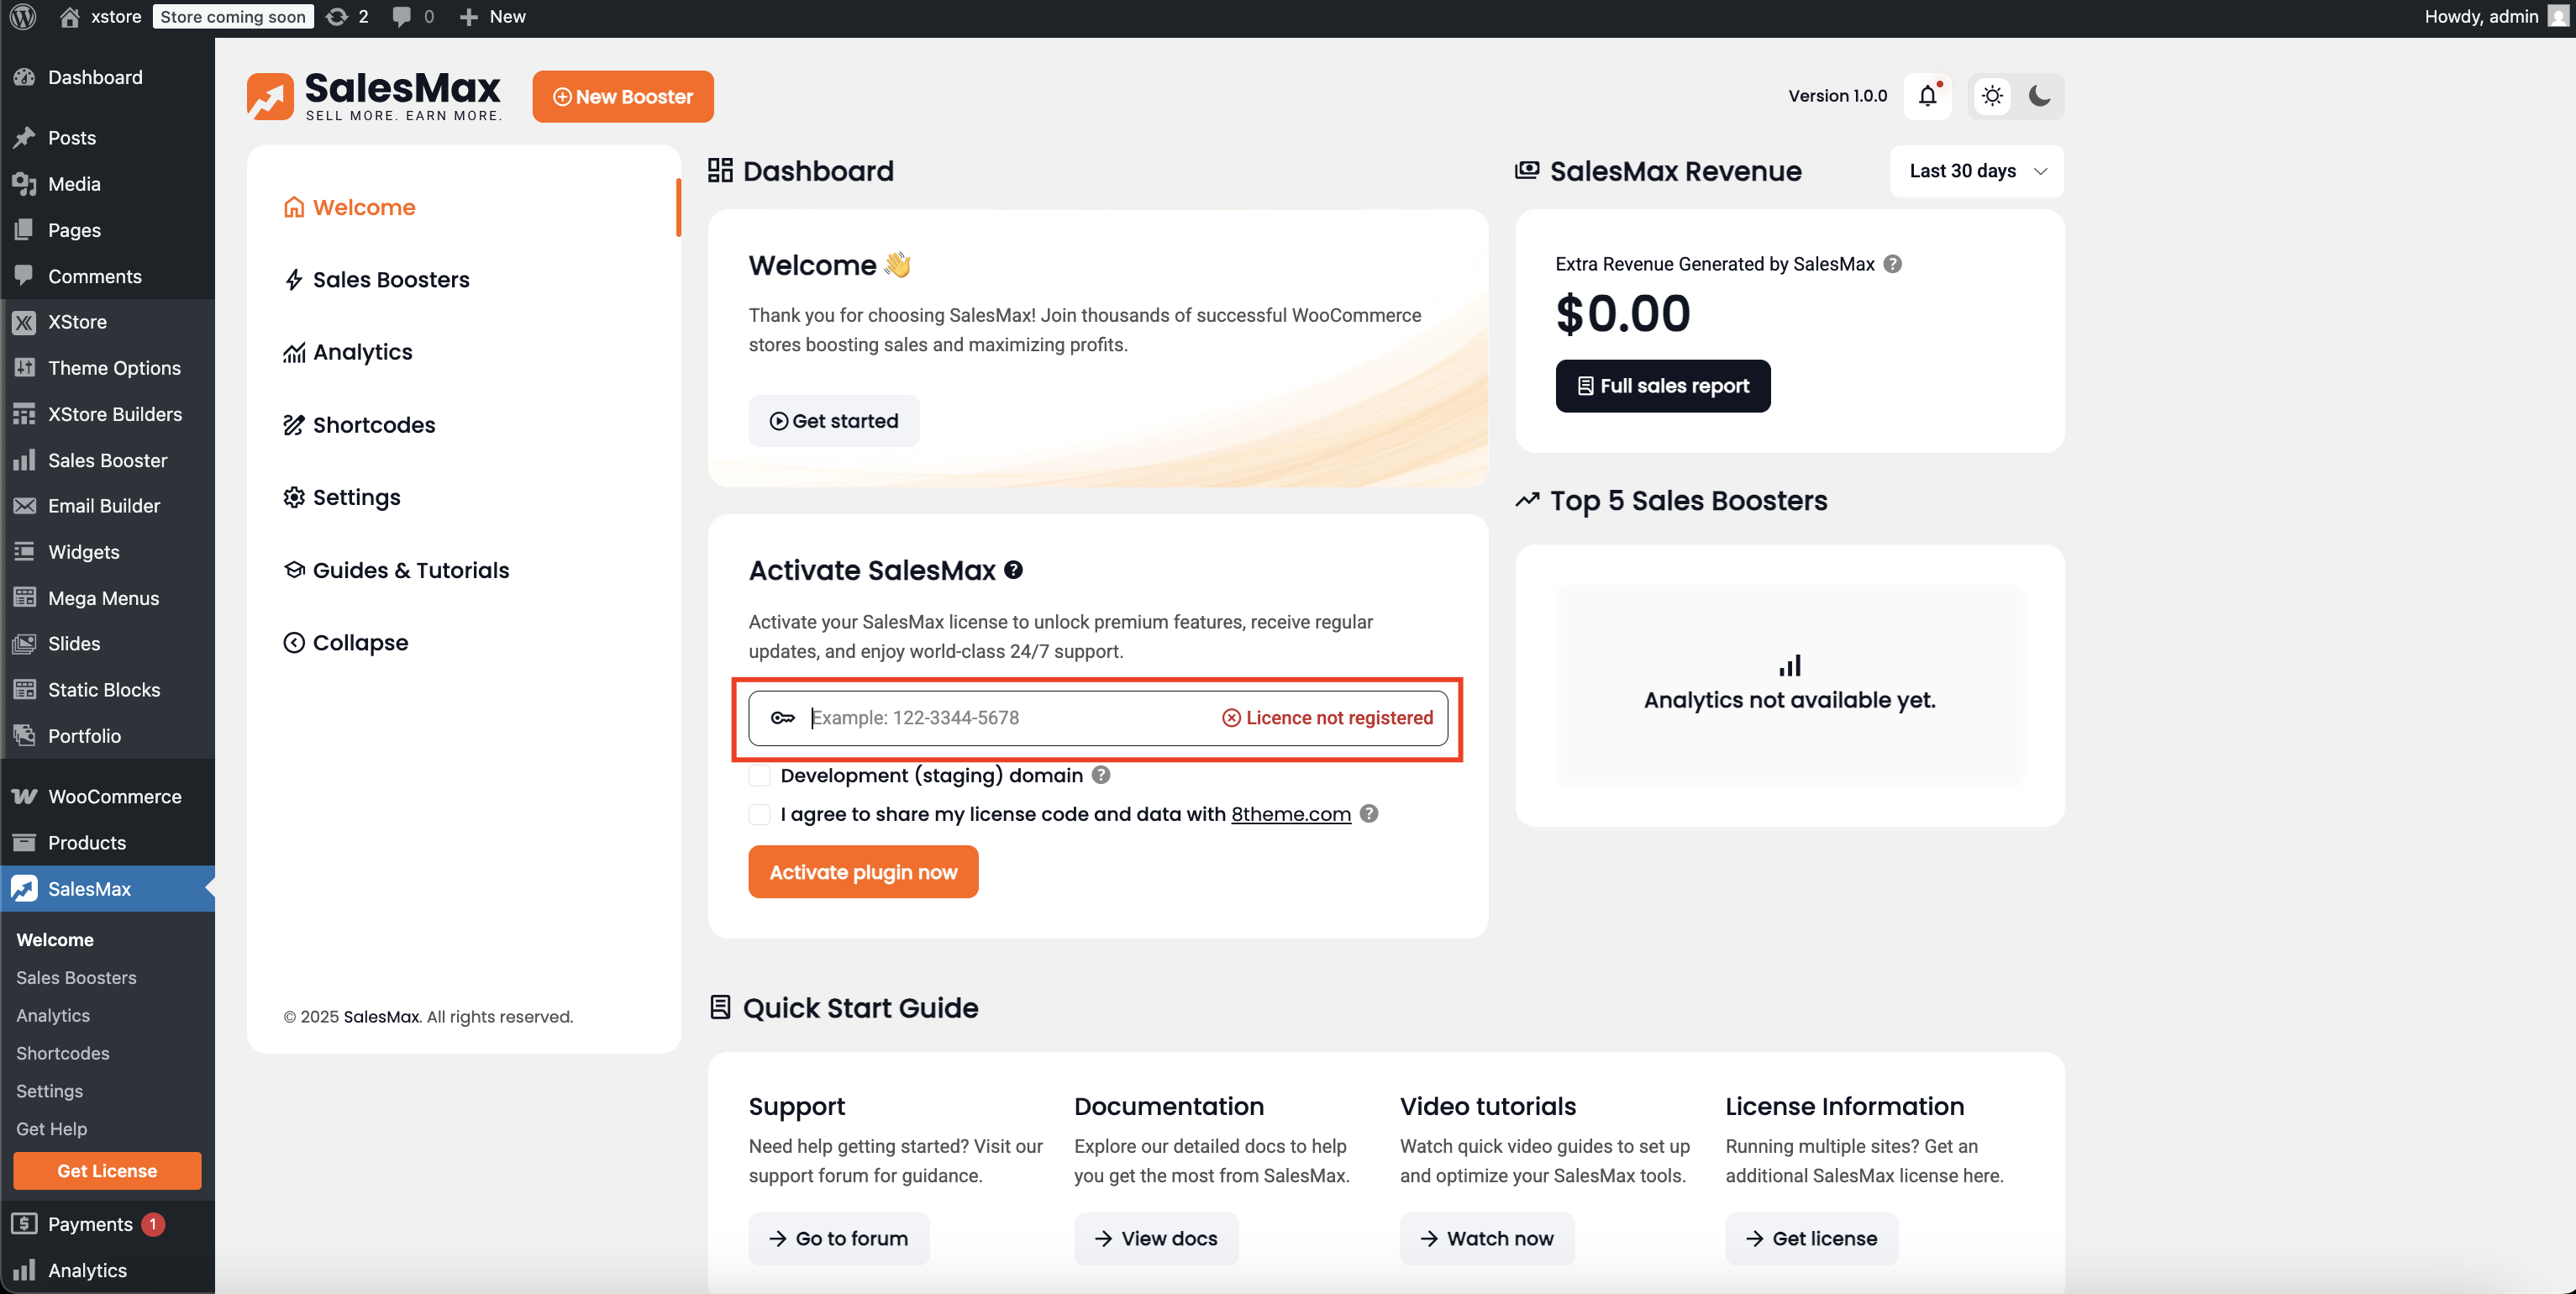
Step 6: You’re All Set! #
After activation, you’ll be redirected to the SalesMax dashboard where your license will be marked as active.
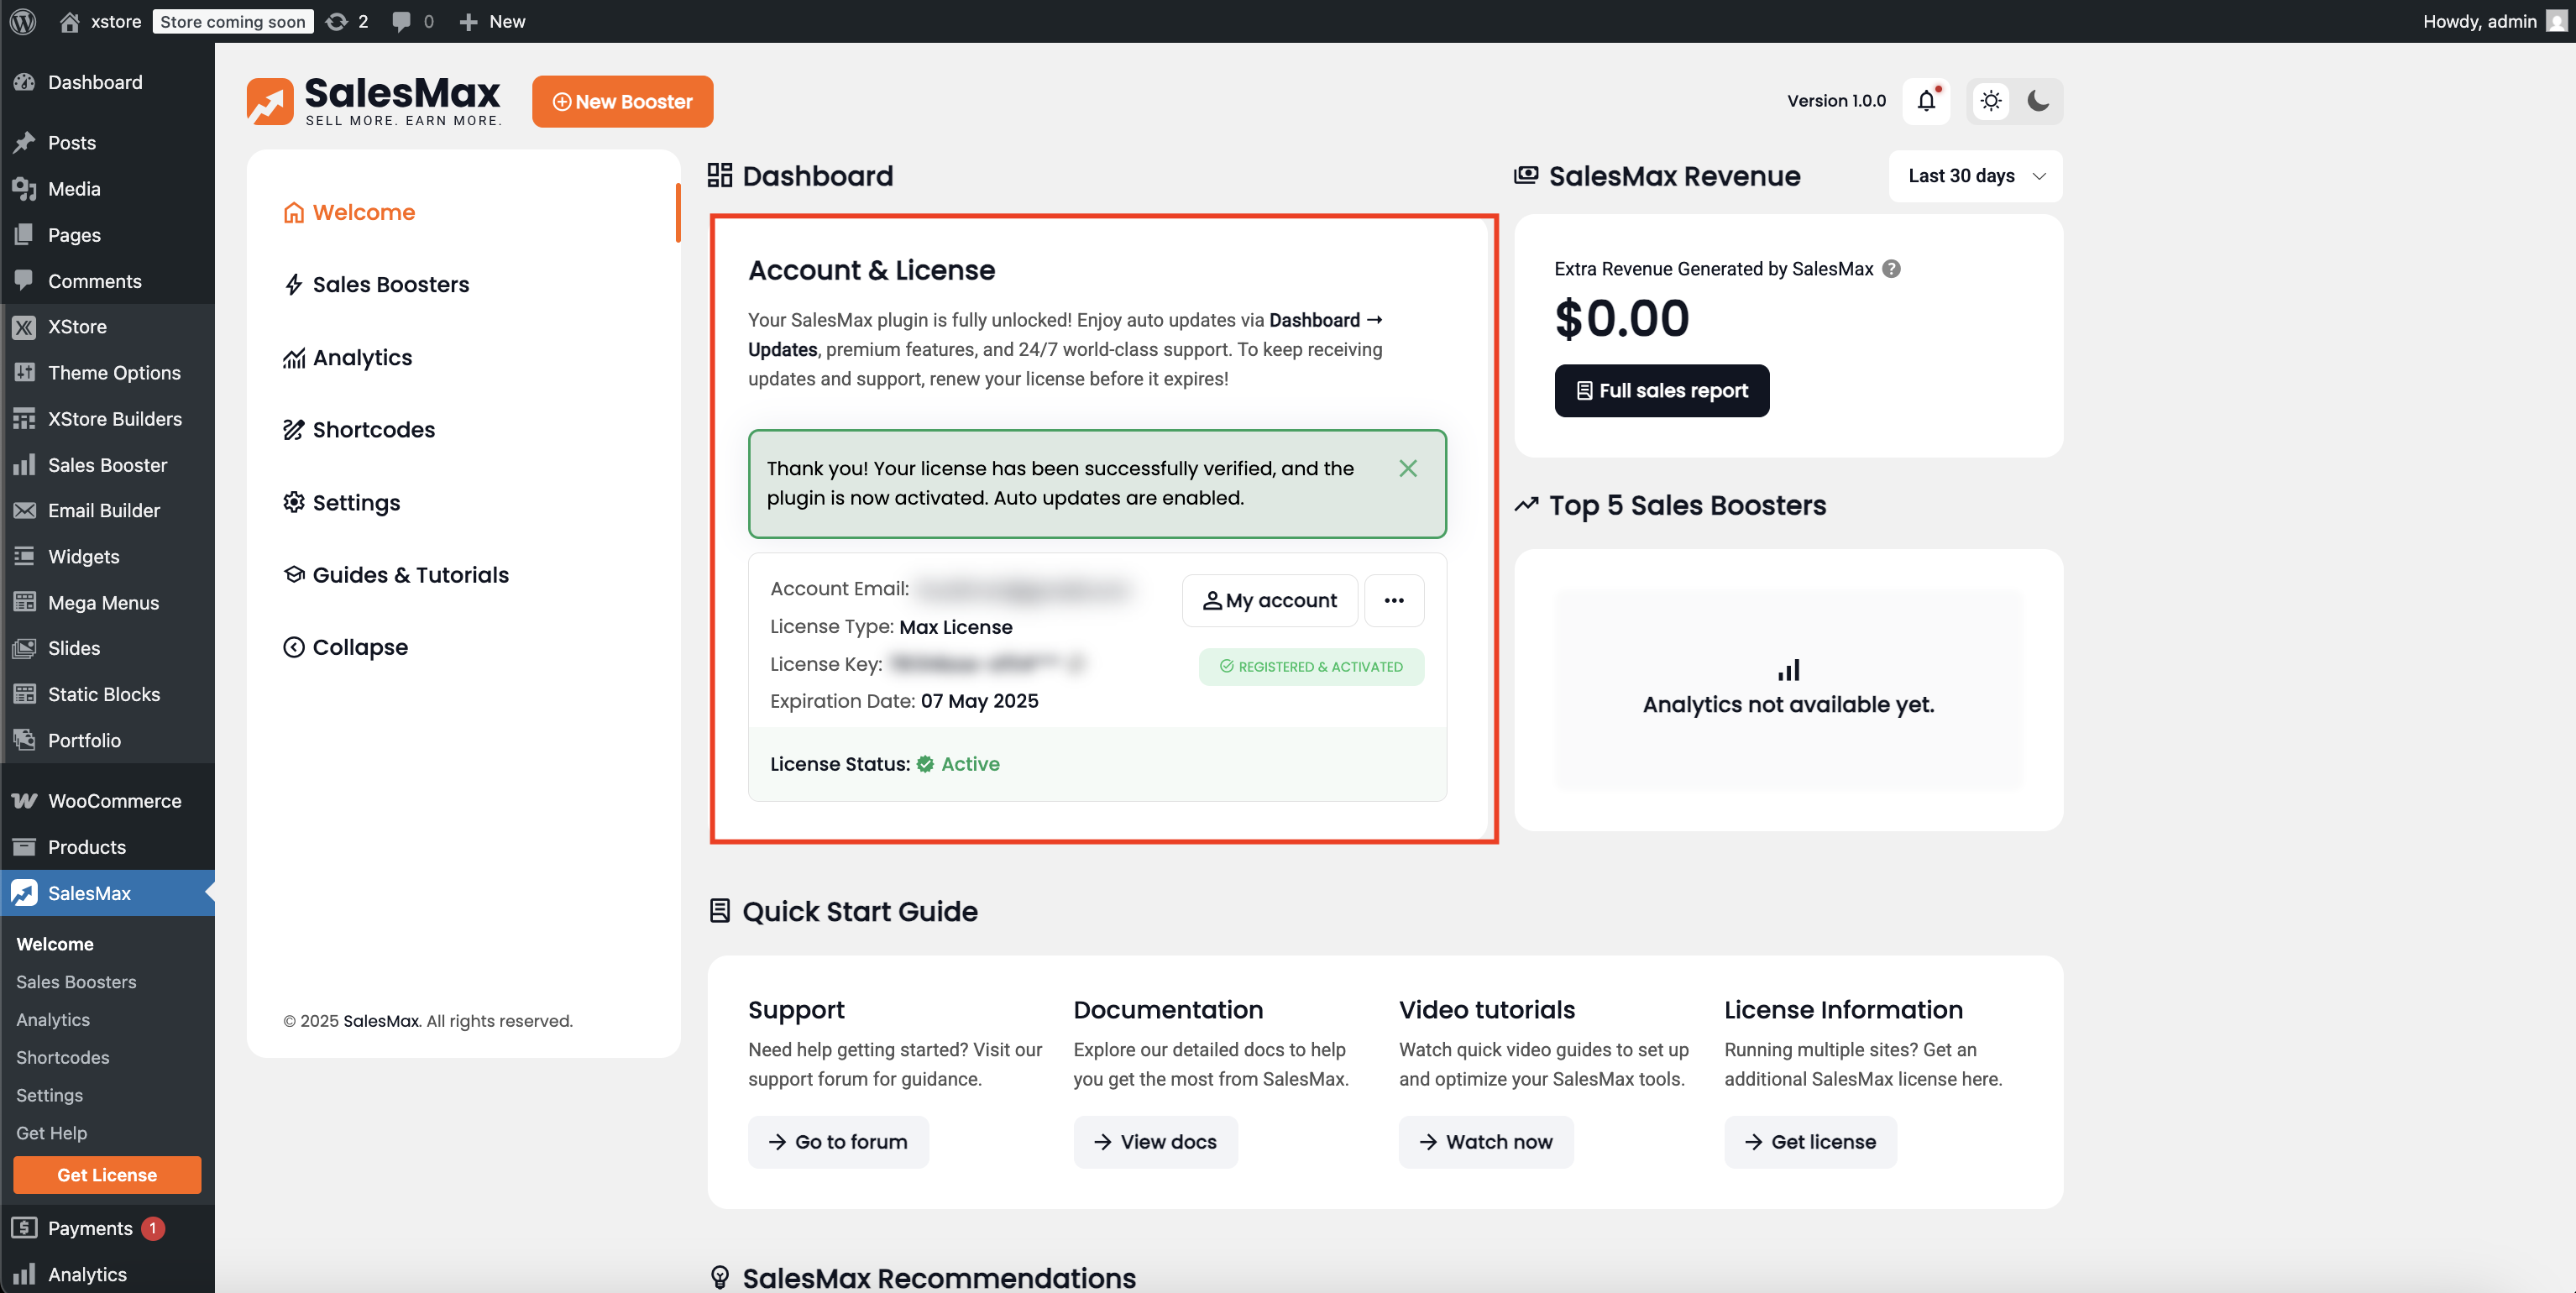
💡 Tip: Once SalesMax is activated, head over to “Sales Boosters” in the dashboard to explore ready-to-use boosters and access advanced analytics.