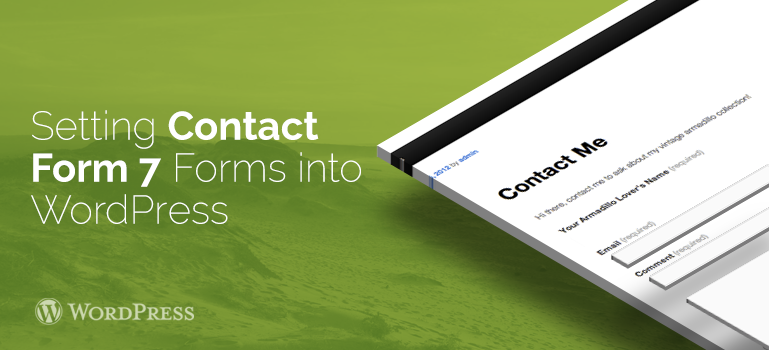
Contact Form 7 is a plugin used by many owners of WordPress theme websites. The plugin is updated frequently, most of the material on the network by setting it up is already out of date and, therefore, the post will be relevant. The increased interest in this plugin is not accidental:
Plugin completely is valid;
It is translated into many languages;
Easy to set up;
Is able to create forms for different purposes;
Supports the function of sending file, anti-spam, etc;
Constantly updated.
WP-ContactForm compared with the Contact Form 7 has very limited capabilities, so we had to abandon it in favor of the latter one.
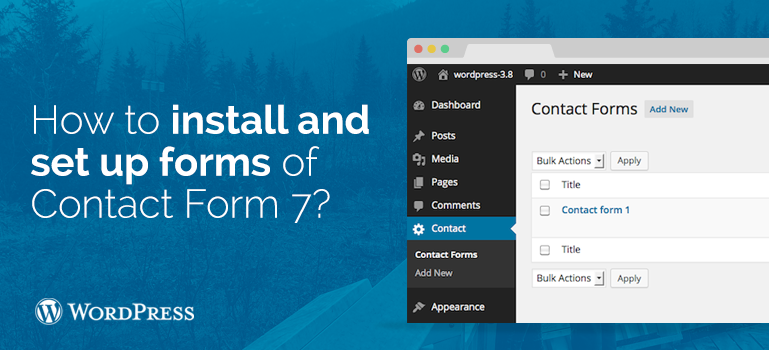
How to install and set up forms of Contact Form 7?
So, let's begin. Download the plugin can be his official depository WordPress page here. Following the standard procedure of installation and activation in the left pane of the Administrator will be a new tab - "Contacts (CF7)". Open it and get into the settings.
Setting Contact Form 7:
Use the "Add new" you can create an infinite number of different forms;
The name of the form, you can edit that then they do not get confused if they will be few;
Form code. Just copy and paste it to the desired location of the page or write;
Tags form. Everything in this unit, you can edit and add new tags here for the contact form;
A generator tag will be included into WordPress themes;
Do not forget to write in this block your address email, on which you will be receiving letters from the contact form.
The body of the message - such content, you will be receiving letters from the contact form;
Message to successful transmission or specific error.
By default, the "Contact form 1" has an already finished the standard feedback form, which is suitable for most sites and blogs. It includes the fields - "Title", "Your Email", "Subject", "Message" and "Send" button.
You will still leave everything as is, adjust the form, add the required tags or even radically change the shape, depending on the task:
All tags and their names are enclosed in tags <p> ... </ p>. <P> tag specifies the text paragraph, and <br/> responsible for the transfer line.
For clarity, let's add in the form of the ability to attach a file to the letter. Click on the "Generate tag" in the drop-down list, select "Send a file" and then get into the setting of the attachment and send the file.
If you check "Required", the user can not send a message without an attachment.
Copy the generated code and paste it into the form on the left.
You can finish writing code "Attach file" for clarity.
Paste the code below in the "Attachments" block "Destination". When you add some other tag, this code you will be asked to insert in the "body of the message."
You can even change the size of the fields in the contact form. The size of the text field in one line is defined by the numerical values at the end of the tag before the closing square bracket. For example, here is the tag name for the new sizes - [text * your-name 50/41]. Here, 50 - the length of the text field, and 41 - the number of characters that you can register in this field. If you do not register, the length of the text box the default is 40, and the number of characters allowed to infinity.
That tag is resized for the message - [textarea your-message 80x10]. Here, 80 - the length of the field in characters, and 10 - its height in lines. Experiment with these margins is your contact form will not integrate harmoniously with the design of the page. The following picture is for illustrative purposes with a standard contact form in Contact 7 Form included into WordPress themes.
 By default, the "Contact form 1" has an already finished the standard feedback form, which is suitable for most sites and blogs. It includes the fields - "Title", "Your Email", "Subject", "Message" and "Send" button.