
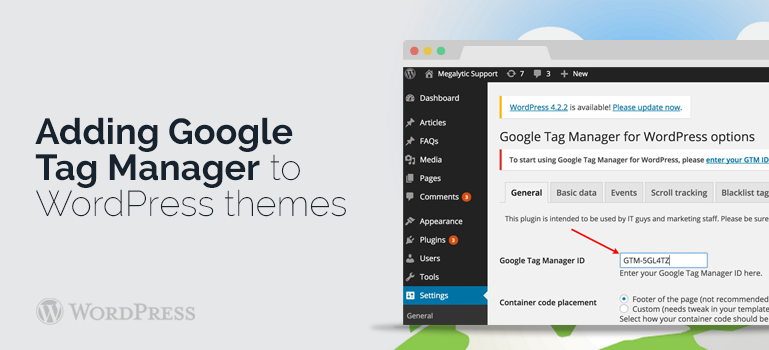
 Go to the control panel of your blog. Important! You must have the right to edit the file themes of the blog. Select the menu item "Appearance -> Editor". In the window on the right, select the file "header (header.php)".
Open the page on which will be seen the source code of the selected file without closing the current browser tab to the source file header.php, go to Google Tag Manager.
Go to the control panel of your blog. Important! You must have the right to edit the file themes of the blog. Select the menu item "Appearance -> Editor". In the window on the right, select the file "header (header.php)".
Open the page on which will be seen the source code of the selected file without closing the current browser tab to the source file header.php, go to Google Tag Manager.
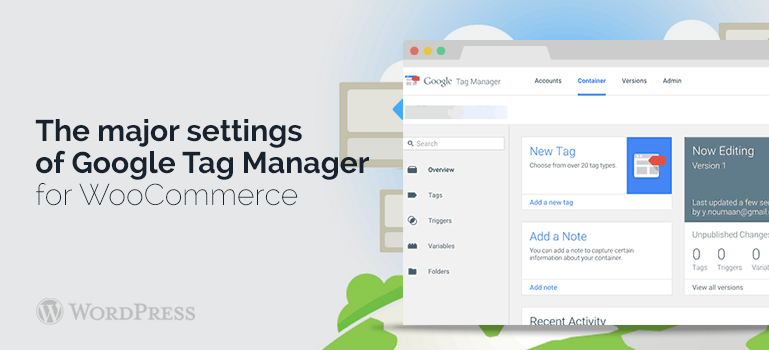 The code is in the header.php file system. Then save your changes by clicking on "Update file". The installation of Google Tag Manager in WordPress themes is now completed. You can check the results by going to your blog and then you need to refresh the page by pressing F5 and view its source code.
If you see there after the <body> tag CTID that means Google Tag Manager, then everything is done correctly and you can begin to set up Google Tag Manager. The fact that you can do more, you can learn from the support service or forum of our website where any problems with WordPress themes are discussed.
The code is in the header.php file system. Then save your changes by clicking on "Update file". The installation of Google Tag Manager in WordPress themes is now completed. You can check the results by going to your blog and then you need to refresh the page by pressing F5 and view its source code.
If you see there after the <body> tag CTID that means Google Tag Manager, then everything is done correctly and you can begin to set up Google Tag Manager. The fact that you can do more, you can learn from the support service or forum of our website where any problems with WordPress themes are discussed.