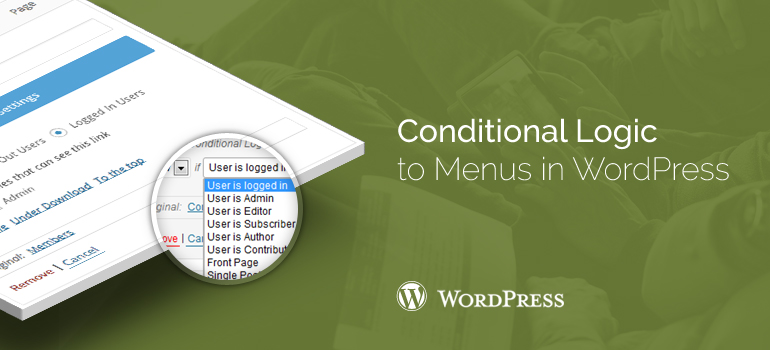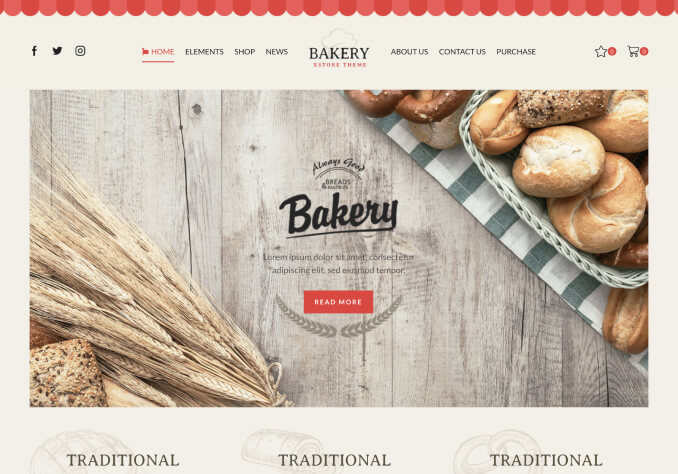
 Classifications are progressive, and they should be utilized for a more extensive scope of points. Labels are non-various leveled, and they can be utilized to sort articles for particular subjects. You can include or select classifications while composing your blog entries. The classifications of the meta box will show up on the right segment of the post altering screen in any WordPress theme.
When you have made a couple posts and documented them under distinctive classifications, you can now include these classes into your website's route menu.
Classifications are progressive, and they should be utilized for a more extensive scope of points. Labels are non-various leveled, and they can be utilized to sort articles for particular subjects. You can include or select classifications while composing your blog entries. The classifications of the meta box will show up on the right segment of the post altering screen in any WordPress theme.
When you have made a couple posts and documented them under distinctive classifications, you can now include these classes into your website's route menu.
 Along these lines you can make amazing drop-down navigation menus that could cover all your critical points. This will likewise help your users rapidly discover the data they require.
Further you find some tips in the assistance with adding points in WooCommerce template’s route menus. You might likewise need to see our instructional exercise on the best way to make class formats in WooCommerce and WordPress themes.
Along these lines you can make amazing drop-down navigation menus that could cover all your critical points. This will likewise help your users rapidly discover the data they require.
Further you find some tips in the assistance with adding points in WooCommerce template’s route menus. You might likewise need to see our instructional exercise on the best way to make class formats in WooCommerce and WordPress themes.
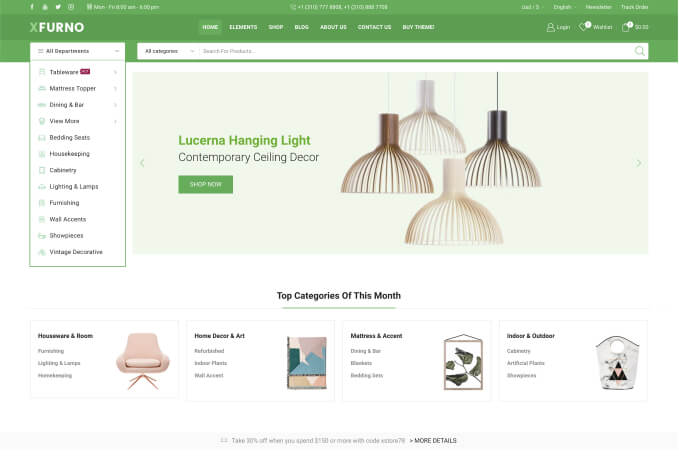
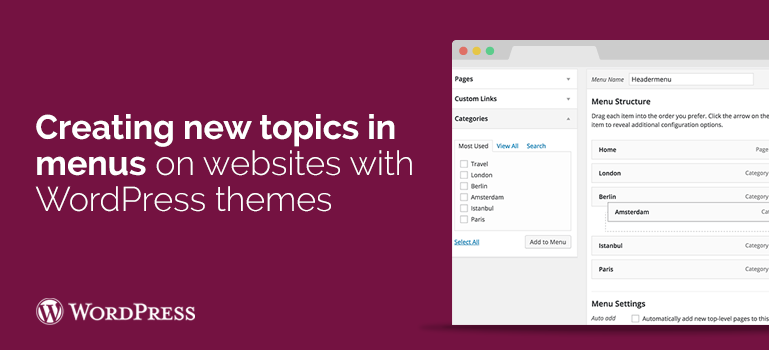
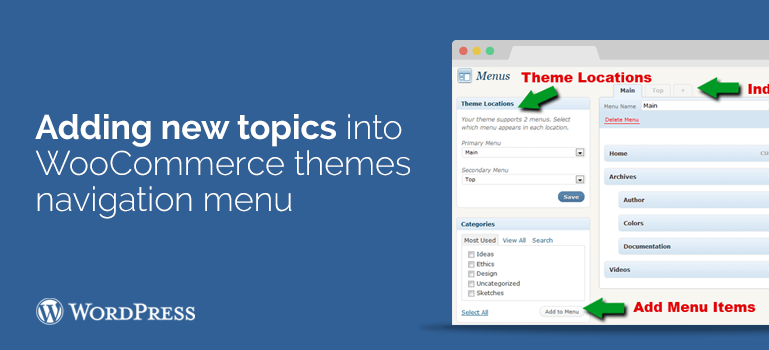
 In this case, the design of a WordPress theme supports only one arbitrary menu, so much cannot be choosers. You just need to choose the menu we created from the drop down list and save the result. If the theme supports two or more menus, the menu must be chosen based on its location in the template.
After saving the results to add new items to the menu, is sufficient to note the desired category or page and click "Add to the menu" in any of WordPress themes.
After that, they can be arbitrarily moved relative to each other and change the nesting.
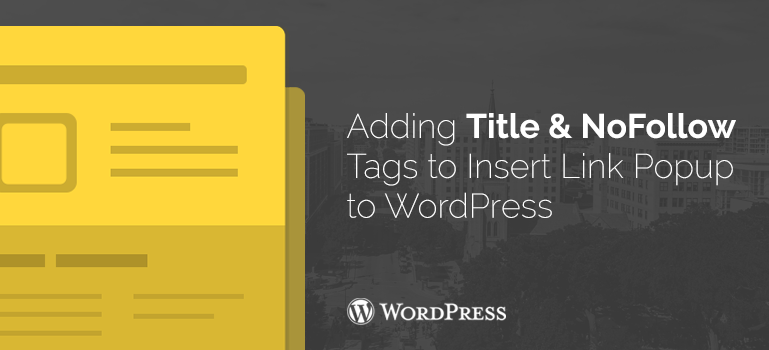
You can also edit the text links to add or delete the Title attribute menu.
Using pages and columns in the navigation menu, you can also add an arbitrary menu and links. To do this, list the link in the box "Custom Links" and click "Add to menu" in WooCommerce templates.
In this case, the design of a WordPress theme supports only one arbitrary menu, so much cannot be choosers. You just need to choose the menu we created from the drop down list and save the result. If the theme supports two or more menus, the menu must be chosen based on its location in the template.
After saving the results to add new items to the menu, is sufficient to note the desired category or page and click "Add to the menu" in any of WordPress themes.
After that, they can be arbitrarily moved relative to each other and change the nesting.
You can also edit the text links to add or delete the Title attribute menu.
Using pages and columns in the navigation menu, you can also add an arbitrary menu and links. To do this, list the link in the box "Custom Links" and click "Add to menu" in WooCommerce templates.