 All information about the key is in your account on the web page. You simply log in and click on the API. Then you will see a menu where you can select a site, but before that you need a name for your campaign. Then choose the position. It is ready to download templates which are in the right column. This template will be used as a starting point.
When the plug-in, you can enjoy tuning appearance OPTIN and its parameters. You can add images or text; choose different fonts, change colors and more.
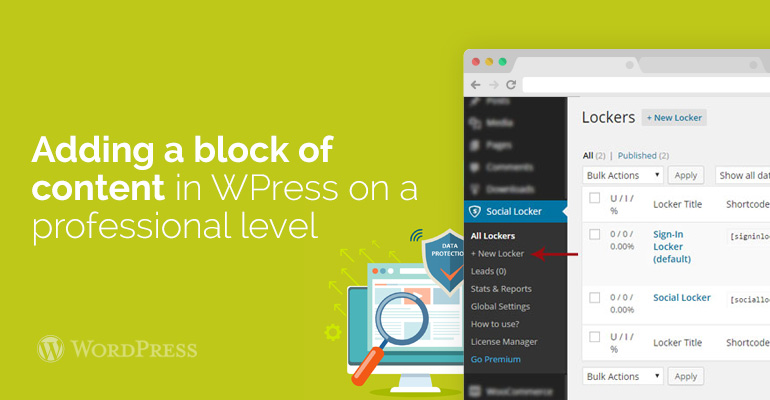
Then go to the menu, and click on OPTIN viewing down, closer to the list of content blocking, and, in fact, turn the lock.
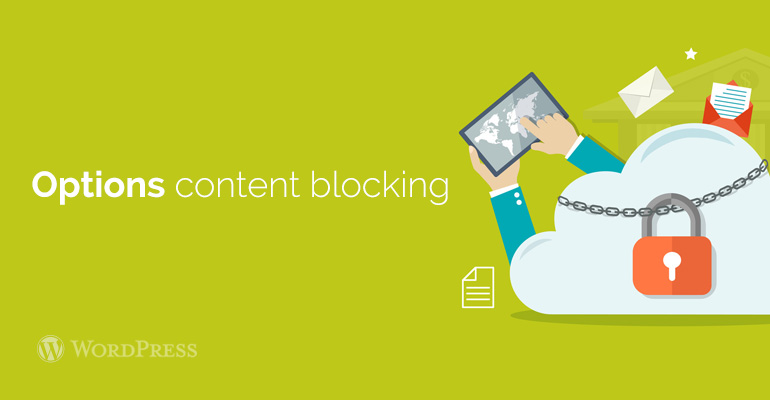
You will have different options for blocking content. You will need to initially determine the choice.
All information about the key is in your account on the web page. You simply log in and click on the API. Then you will see a menu where you can select a site, but before that you need a name for your campaign. Then choose the position. It is ready to download templates which are in the right column. This template will be used as a starting point.
When the plug-in, you can enjoy tuning appearance OPTIN and its parameters. You can add images or text; choose different fonts, change colors and more.
Then go to the menu, and click on OPTIN viewing down, closer to the list of content blocking, and, in fact, turn the lock.
You will have different options for blocking content. You will need to initially determine the choice.
 The duration of cookies is changed to 0. At the end of the process you save all the settings and get the code. Now go to your own WordPress website in the menu section.


Posted by Rose Tyler