

 Now specify a “name” and “value(s)” for each Attribute. For example, I am adding an attribute named 'color' with two different values: Black and Yellow (as shown in the following screenshot). You can change the attribute name and its values according to your own requirements. Next, make sure to check the ‘Used for Variations’ checkbox to tell WooCommerce that the attribute you've defined is for your variations.
 Lastly, hit the “Save attributes” button to make the changes visible on the variations tab.
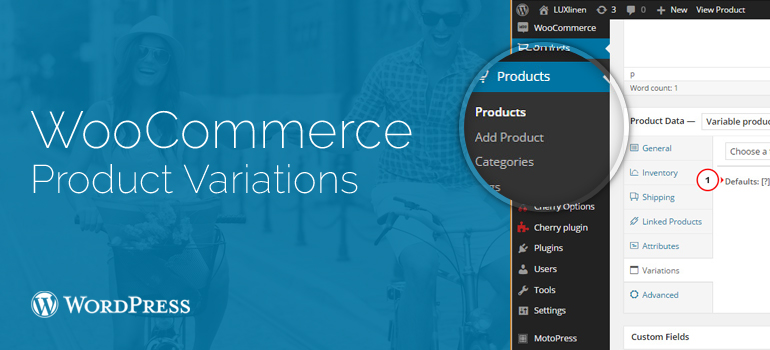
 A variation panel will open up after clicking on 'Add Variation', where you will have to fill in product information for each of its variation as follows:
• Image – Click the thumbnail button given in the variations tab to choose an image, you want to insert into your post.
• SKU(Stock Keeping Unit) – Setting SKU of the variation help you keep a track of your product.
• Stock Quantity – Specify the stock for specific variation
• Weight – Specify the weight of the variation
• Dimensions – Determines the dimension of the variation
• Price – This is where you need to assign the variation price. This is a required field and shouldn't be left blank.
• Sale Price – In case you want to offer any discount on your variation, enter the discounted price here.
• Downloadable – If you want to make the variation downloadable, check this box.
• Virtual – Check the bob if the variation is virtual
• Enabled – If you don't want the variation to be visible, then uncheck on the “Enabled” box.
• Shipping class – It helps you configure the shipping options for your online store.
• Tax class – This option allow you to set tax options on the variations.
Once you've completed adding the variations to your product(s), click Update/Publish.
A variation panel will open up after clicking on 'Add Variation', where you will have to fill in product information for each of its variation as follows:
• Image – Click the thumbnail button given in the variations tab to choose an image, you want to insert into your post.
• SKU(Stock Keeping Unit) – Setting SKU of the variation help you keep a track of your product.
• Stock Quantity – Specify the stock for specific variation
• Weight – Specify the weight of the variation
• Dimensions – Determines the dimension of the variation
• Price – This is where you need to assign the variation price. This is a required field and shouldn't be left blank.
• Sale Price – In case you want to offer any discount on your variation, enter the discounted price here.
• Downloadable – If you want to make the variation downloadable, check this box.
• Virtual – Check the bob if the variation is virtual
• Enabled – If you don't want the variation to be visible, then uncheck on the “Enabled” box.
• Shipping class – It helps you configure the shipping options for your online store.
• Tax class – This option allow you to set tax options on the variations.
Once you've completed adding the variations to your product(s), click Update/Publish.


Posted by Alex Carter